TABLE OF CONTENTS
The Big Update: "Nano Banana 2" (Gemini's New Eyes)What Changed:When to Use Nano Banana 2:My Most Common Prompts:The Control Center: ImageFXWhat Makes ImageFX Actually Useful:When to Use ImageFX:My Verdict:The Remix Tool: WhiskHow Whisk Works:Why This Matters for Creators:When to Use Whisk:The Typography Lab: GenTypeWhat GenType Does:When to Use GenType:What GenType Is NOT:Your Action Plan: The Image Creation ChallengeChallenge: Create 3 Versions of the Same ImageWhat You'll Learn:Next Up: Part 3B - Motion & Sound StudioAdditional ResourcesAI Tools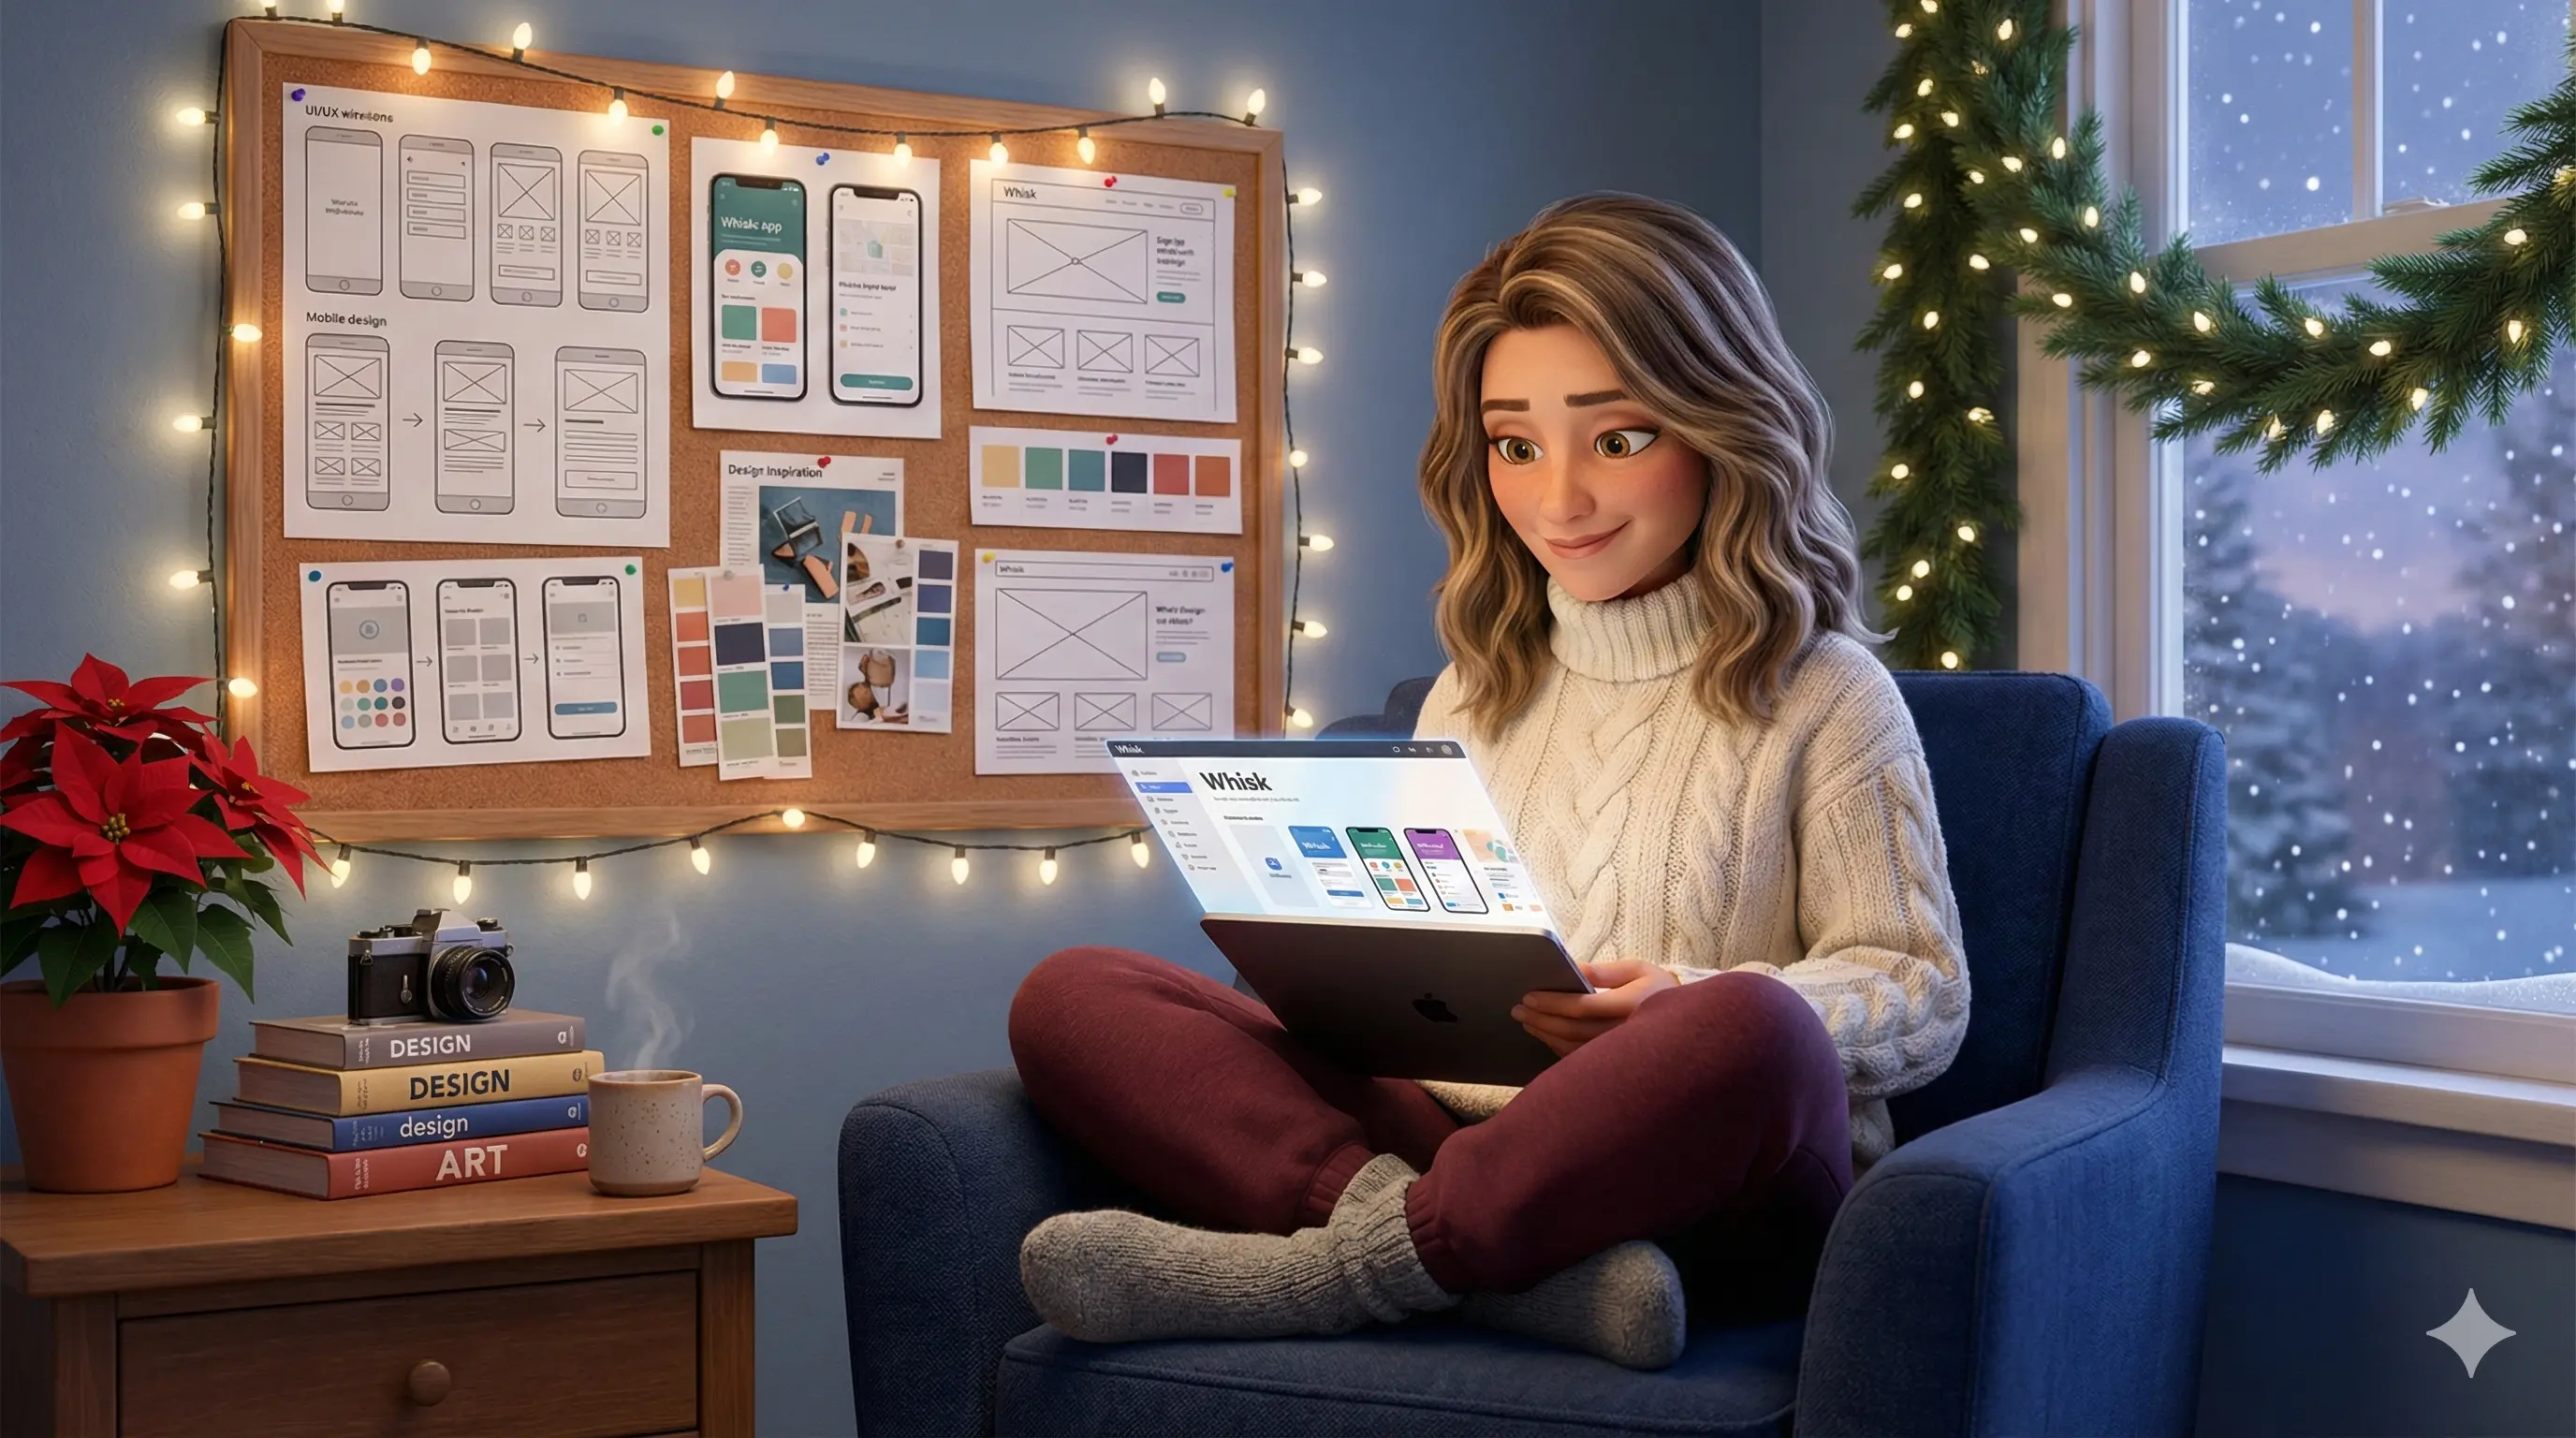

Google AI Series Part 3A: The Visual Creation Studio
December 16, 2025|18 min read
This is part 3A of my Creators' Guide to Google series. Here is Part 1 and Part 2.
For a long time (in AI years), if you wanted AI-generated images, you went to Midjourney. If you needed stock photos, you paid for Deposit Photos (often via AppSumo) or spent 45 minutes scrolling through Unsplash, hoping to find something that didn't look like every other blog post.
Google was the "boring" option, lol. Great for emails and spreadsheets, but creativity? That was someone else's territory (and why I was giddy when Gamma came out and gave me another option for presentations).
That's not true anymore.
Hidden inside Google's experimental Labs division, they've built a suite of visual creation tools that are intuitive, powerful, and honestly... kind of magical.
And here's the part that changed my workflow: I haven't used a stock image site in months. Every image in this blog post series, those Pixar-style characters, the infographics, the header images, was created in minutes using Google's AI image tools (first with ImageFX, and now with a Google Gem I made).
In Part 3A, we're stepping into the Visual Creation Studio. We're going to break down:
- Nano Banana 2 (Gemini's upgraded image generator)
- ImageFX (the dedicated image creation interface)
- Whisk (image remixing and style transfer)
- GenType (custom AI typography)
By the end of this, you'll know exactly which tool to use when, and you'll never waste time searching for "the right stock photo" again.
The Big Update: "Nano Banana 2" (Gemini's New Eyes)
Quick note: "Nano Banana" started as an internal Google codename for their image generation model and became so popular that Google embraced it—they even added a banana emoji 🍌 in the Gemini app. The official name is *Gemini 3 Pro Image* (also called Nano Banana Pro), which is built on the Gemini 3 Pro. But I'm calling it Nano Banana 2 because that's what everyone knows it as (and it's way more fun).
Last month (mid-November 2025 at the time of this writing), Google rolled out a significant upgrade to the image generation inside the main Gemini chat.
Previously, "Nano Banana" was... good. It was fast and convenient, but then it stopped generating images in different sizes. I used to be able to generate landscape (16:9 ratio) images, then all I could get were squares (as an example).
Nano Banana 2 (Gemini 3 Pro Image) is a different beast entirely.
What Changed:
Photorealism that competes with Midjourney. The skin textures, lighting, and overall "vibe" are now shockingly close to what you'd get from dedicated image generation tools. I'm able to create consistent characters that actually look like the same character (I was getting pretty close with Image FX, but this blew me away).
Text rendering that actually works. You can now ask it to generate a sign reading "Welcome to the Workshop," and it will spell it correctly (but be sure to double-check everything, as it can still botch a few things). This is huge for social media graphics, Pinterest pins, and blog headers where you need readable text in the image.
Better prompt adherence. It listens. If you ask for "a cozy home office with a woman working on a laptop, warm golden hour lighting, Pixar 3D style," you get exactly that. No more "close but not quite" results.
When to Use Nano Banana 2:
- You're already in a Gemini conversation. If you're brainstorming a blog post with Gemini and want a quick visual to go with it, the new model is finally good enough to use the result immediately (you don't need to open a new chat to generate an image).
- You need a quick image NOW. No switching tools, no new tabs. Simply enter your prompt and boom! You'll have your image in about 30 seconds.
- You're iterating on ideas. The conversational nature makes it perfect for refining: "Make the lighting warmer," "Change her shirt to blue," "Add a coffee mug on the desk."
- Anytime you need an image, lol. Seriously... I know I have a set style for my characters, but I have yet to create an image that it can't produce. I've created a Custom Gem for my Pixar-style character.
The power of conversational image generation: I asked Gemini to visualize our discussion in my brand colors, and 30 seconds later I had this infographic. No switching tools, no uploading references—just "create this" and it happens.
My Most Common Prompts:
Here are the exact prompts I use most often:
For blog headers: "Create a wide 16:9 blog header image showing [scene description], [style], [lighting], [mood]."
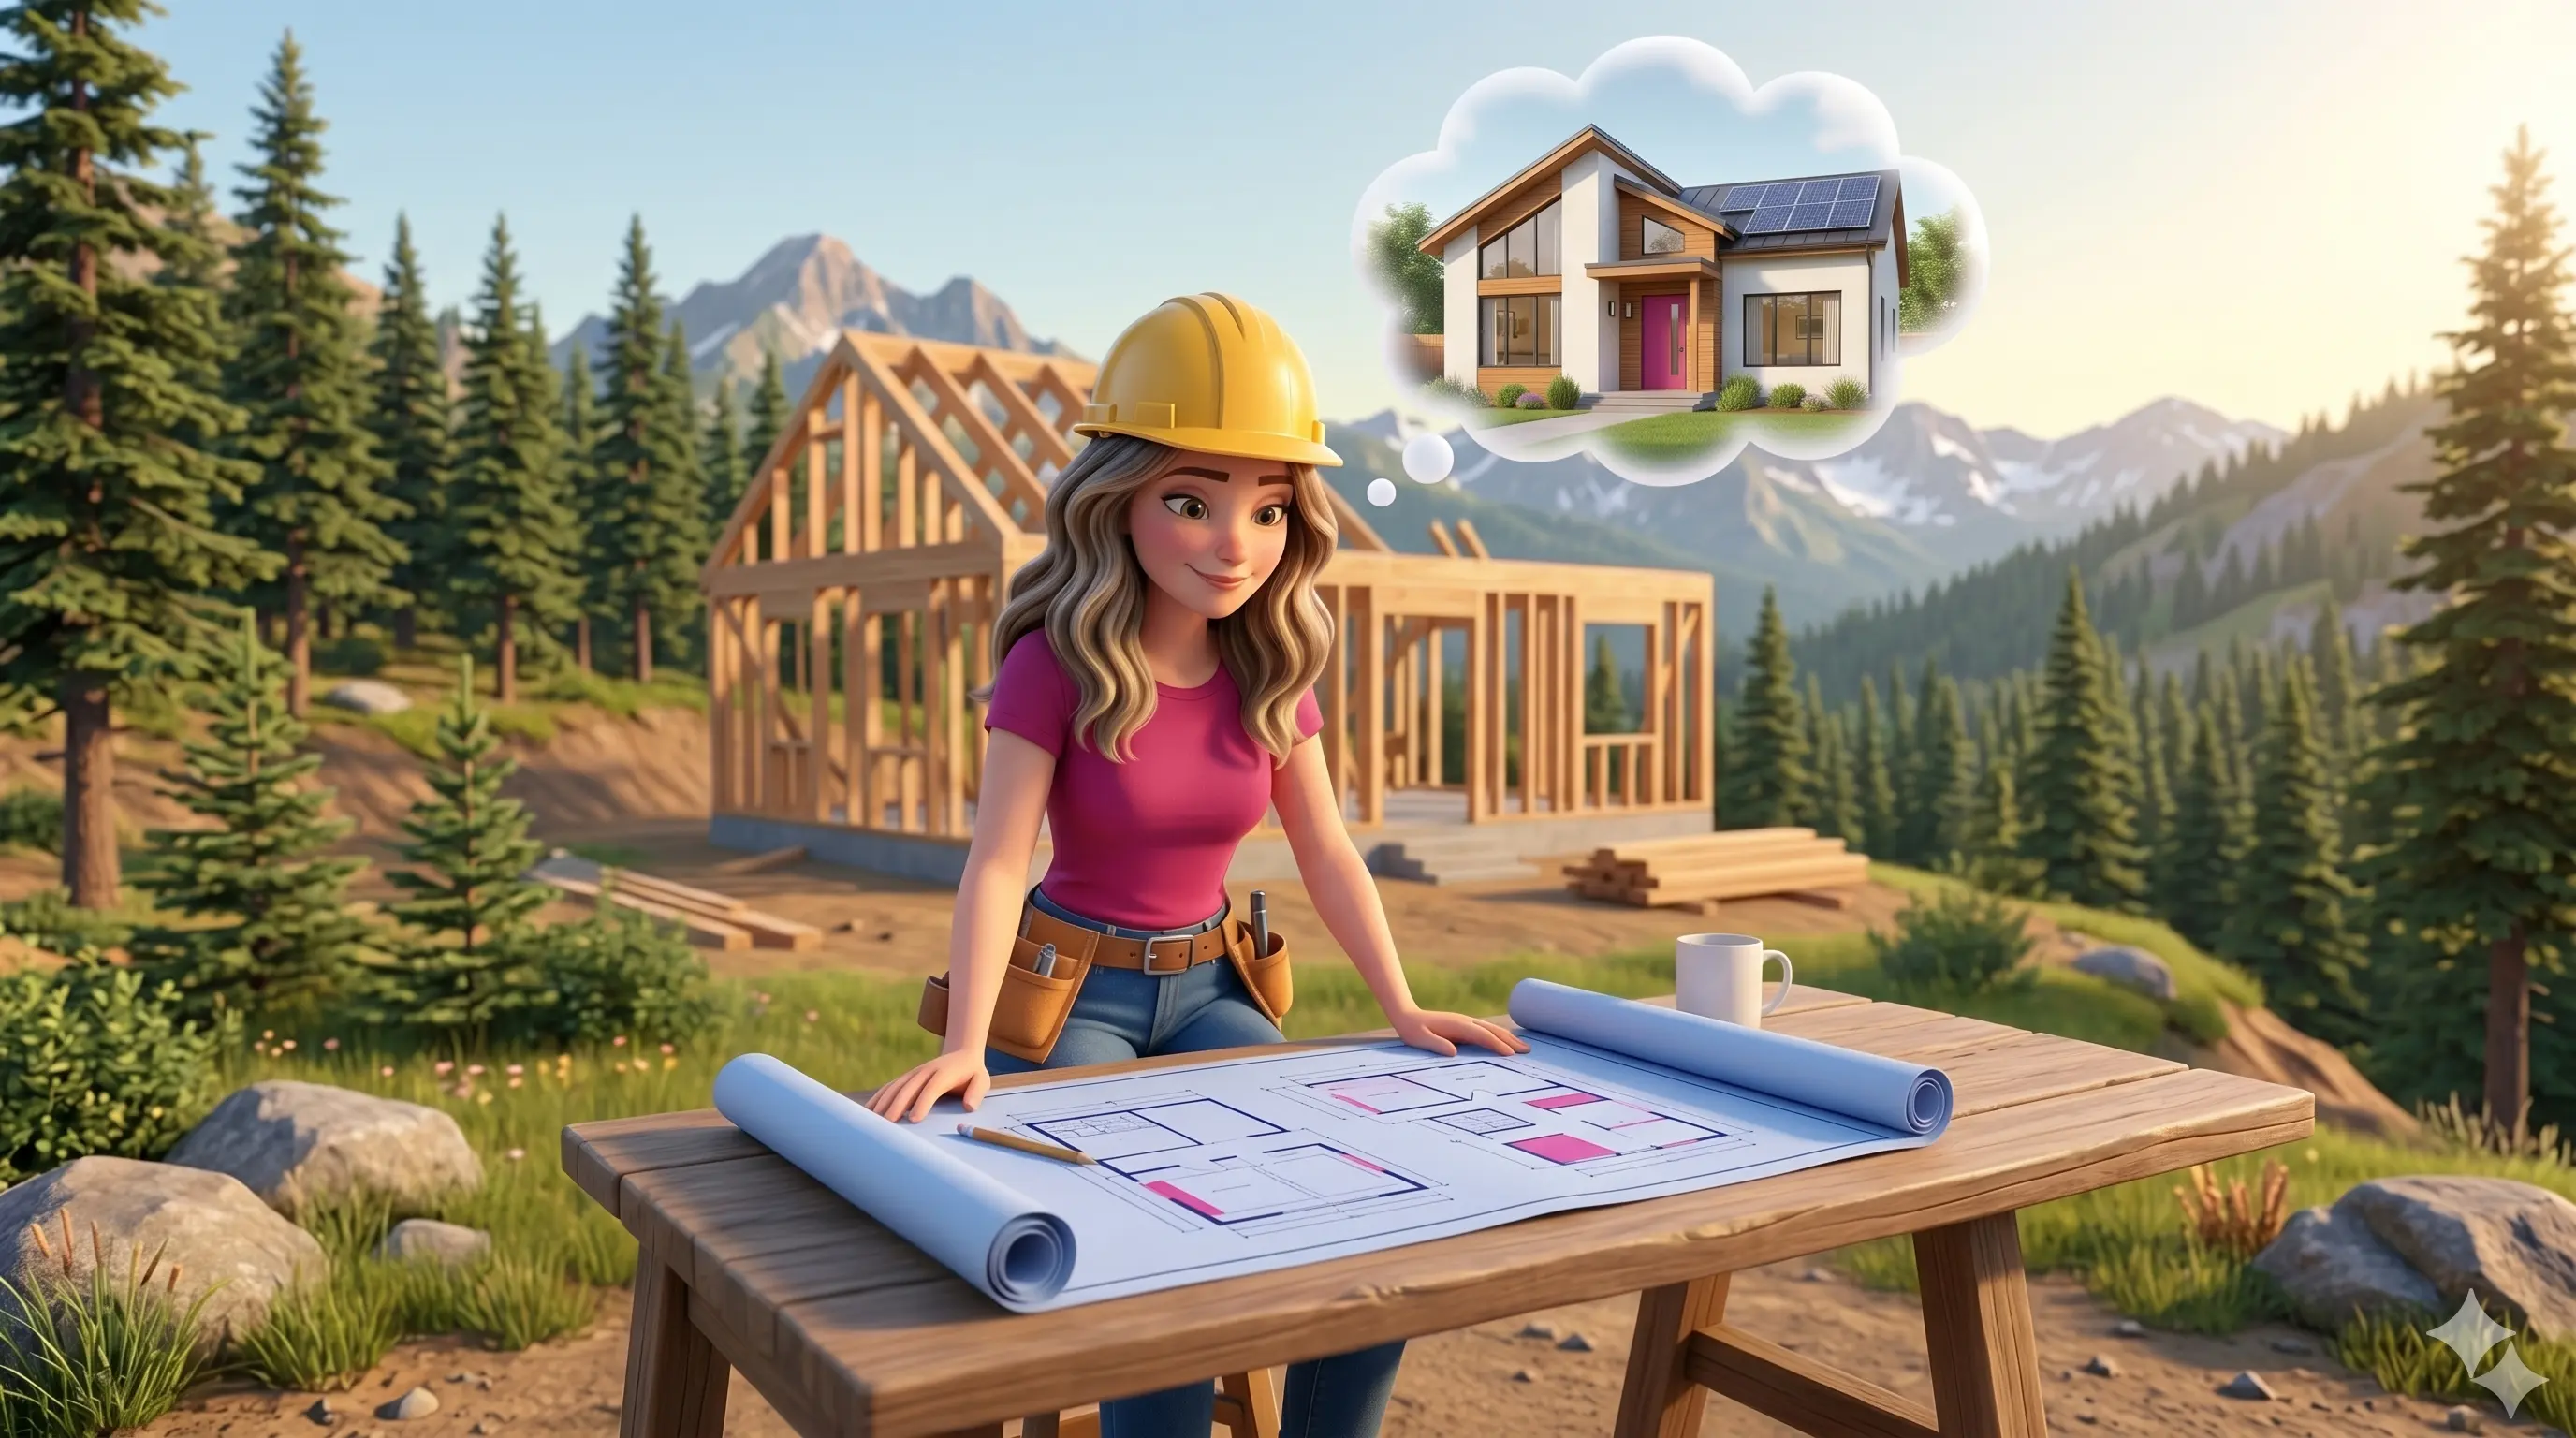
For Pixar-style characters: "Create a Pixar 3D style character, [age] woman, [hair description], [clothing], [setting], warm lighting, friendly expression." With the custom Gem, I provide only the scene, lighting, mood, and clothing.
For social media graphics: "Create a square 1:1 image with [scene], include readable text that says '[your text]', [style], bright and engaging."
Note: I usually use my Pixar-style character for social too, so right after I've created the image I ask for a square version and a vertical (9:16 ratio) in the same thread. Tip: I'll then take the vertical version and use Gemini's VEO (video model) to animate the image.
Pro tip: Always specify aspect ratio in your prompt if you can ("wide 16:9," "square 1:1," "tall 9:16"), even though Nano Banana doesn't always nail it. That's where ImageFX comes in. This is also where Custom Gems come in handy! I don't ever have to repeat what my "Pixar-style, midlife woman" looks like... those details are set in the instructions for the Gem.
The Control Center: ImageFX
So if Nano Banana 3 Pro is so good now, why do we still need ImageFX?
Because of one critical thing: Control.
While Gemini creates amazing images, you're still prompting for everything conversationally. "Make it wider. No, 16:9. No, wider. Actually, make it square." (I haven't tested not giving the size to see what the default size is.)
That gets old fast.
ImageFX (also powered by Imagen 3) is a dedicated interface just for images, with UI controls designed for creators who need specific dimensions and want to iterate quickly.
What Makes ImageFX Actually Useful:
Aspect ratio dropdowns that actually work. No more prompting for dimensions. Click "Landscape," "Portrait," or "Square," and you're done. Want a blog header? Landscape. Instagram post? Square. Pinterest pin? Portrait. Simple.
Batch generation. ImageFX automatically provides four variations of every prompt. Nano Banana gives you one at a time. If you need options, ImageFX wins.
Style modifiers at your fingertips. At the bottom of the interface, you'll see quick-click options such as "35mm film," "sketchy," "minimal," "chiaroscuro," and "macro photo"—one click applies that style to your generation without rewriting your prompt.
The "Expressive Chips" Feature (Your Mileage May Vary): Google's documentation promises that ImageFX will highlight key concepts in your prompt as clickable "chips" - so you could click "blue" in your prompt and swap it for "red," or click "dog" and change the breed.
In practice? This feature appears to be inconsistent. Sometimes it works, sometimes it doesn't. I'm not seeing the contextual chips highlight words in my prompts the way Google describes.
What DOES work reliably: the style modifiers at the bottom and the aspect ratio controls at the top.
My verdict on ImageFX: It's worth using for the aspect ratio controls alone. If you're creating featured images for blog articles or social graphics, one-click dimension controls save significant time. The 4-variation batch generation is also helpful when you need options.
Aspect ratio controls. Click to choose your dimensions, no more prompting for size. ImageFX offers:
- Square (1:1) - Instagram feed posts
- Landscape (16:9) - Blog headers, YouTube thumbnails
- Portrait (9:16) - Instagram Stories, Reels, TikTok (very tall)
- Mobile portrait (3:4) - Pinterest pins, wider vertical images
One click, perfect dimensions. No guessing. The promised "chips" feature would be amazing if it worked consistently, but even without it, ImageFX is more efficient than Nano Banana when you need specific sizes.
ImageFX interface showing the 4 automatic variations it generates from a single prompt, with style modifiers (abstract, natural light, film still) and aspect ratio controls clearly visible on the left. This is what makes ImageFX worth using—instant variations and one-click dimension control.
When to Use ImageFX:
- You need a specific size or aspect ratio. Blog headers, social graphics, Pinterest pins—anything where dimensions matter.
- You need multiple options. The 4 automatic variations save time when you're choosing the "right" image.
- You want to test different styles quickly: Copy your prompt, delete the existing content, paste it back in, and select a different style. You'll be able to scroll through the variations on one screen.
My Verdict:
Use Nano Banana 2 (Gemini) for quick, conversational image creation while you're already working in Gemini.
Use ImageFX when you need specific dimensions, want to iterate fast, or need multiple variations to choose from.
The key difference: Use Gemini when you need it to THINK (charts, diagrams, text rendering). Use ImageFX when you need it to DREAM (photorealism, artistic beauty, style swaps).
The Remix Tool: Whisk
Here's where it gets fun.
Whisk is Google's experimental image remixing tool, and it works completely differently from Nano Banana or ImageFX.
Instead of typing text prompts, you upload images.
How Whisk Works:
You give Whisk three types of input images:
- Subject - The person, object, or character you want
- Scene - The setting, background, or environment
- Style - The artistic style you want applied
Whisk analyzes all three, then generates a new image that combines them.
Example:
- Subject: A photo of you (or a character you like)
- Scene: A cozy coffee shop interior
- Style: A watercolor painting
Whisk outputs: You as a watercolor painting sitting in a cozy coffee shop.
Whisk's interface in action: upload your subject (top left), choose your scene and style, and watch it remix your images. The dashboard makes it easy to experiment with different combinations—perfect for creating variations of branded content or character designs.
Why This Matters for Creators:
Brand consistency. Upload your brand's style reference once, then remix it across different scenes and subjects. All outputs maintain the same visual style.
Character consistency. If you've created a character you love (like my Pixar-style woman), upload it as the "subject," then place her in different scenes without having to prompt from scratch each time.
Creative exploration. Whisk is perfect for "what if" experiments. What if your product photos looked like vintage oil paintings? What if your headshot were reimagined as a comic book cover? Upload and find out.
When to Use Whisk:
- You want to maintain visual consistency across multiple images
- You're experimenting with artistic styles for your brand
- You have reference images, but struggle to describe them in words
- You want to remix existing visuals into something new
Pro tip: Whisk works best when your input images are clear and well-composed. Blurry or cluttered images confuse the model.
The Typography Lab: GenType
Most AI image tools struggle with text. Even Nano Banana 2, which is significantly better than version 1, still hiccups on complex typography.
GenType solves this by focusing exclusively on AI-generated typography and lettering.
What GenType Does:
You type a word or short phrase, choose a style or theme, and GenType generates custom typographic designs.
Example prompts:
- "Spark" in a neon sign style
- "Welcome" with floral decorative elements
- "2025" in futuristic holographic style
- "Coffee" with steam and texture integrated into the letters
The results aren't just fonts—they're artistic interpretations of your text, with visual elements woven into the letterforms themselves.
NOTE: I could NOT get GenType to work (it is part of Google's "Experiments"). I wrote multiple prompts, provided simple directions, used the "How to use GenType" FAQ entry, and even asked Gemini & Claude for a prompt. Nada. Let me know if you can get it to work and what you did, please, lol.
GenType's interface: you describe what your letters should be made of, and it generates a custom alphabet. I couldn't get my marker prompt to work (experimental tools, am I right?), but the gallery shows what's possible—from futuristic space ships to grape jelly on toast.
When to Use GenType:
- Social media graphics where the text IS the visual
- Blog post headers that need decorative typography
- Brand exploration when you're playing with logo concepts
- Pinterest pins where bold, readable text drives clicks
What GenType Is NOT:
It's not a font generator. You can't install these as fonts or type full paragraphs with them. GenType creates individual typographic artworks—single words or short phrases rendered as standalone images.
Think of it as a specialized design tool for when you need text to BE the hero of your visual, not just sit on top of it.
Your Action Plan: The Image Creation Challenge
Let's test these tools so you understand when to use each one.
Challenge: Create 3 Versions of the Same Image
Pick a simple scene: "A cozy home office with a woman working on a laptop, warm lighting, Pixar 3D style."
Step 1: Create it in Nano Banana 2 (Gemini)
- Open Gemini chat
- Type your prompt
- See how fast you get a result
- Try iterating: "Make the lighting warmer" or "Add a coffee mug on the desk"
- Notice how conversational it feels
Step 2: Create it in ImageFX
- Go to labs.google.com/imagefx
- Enter the same prompt
- Set aspect ratio to "Landscape" (16:9)
- Look at the 4 variations it generates
- Click the "Pixar 3D style" chip and swap it to "Illustrated" or "Photorealistic"
- Notice how fast you can iterate on variables
Step 3: Remix it in Whisk
- Go to labs.google.com/whisk
- Upload your favorite result from Step 1 or 2 as the "Subject"
- Upload a different office setting image as the "Scene"
- Upload a watercolor painting or sketch as the "Style"
- See what Whisk creates
Step 4: Add Custom Text with GenType
- Go to labs.google.com/gentype
- Type "Create" or "Build" or your business name
- Choose a style that matches your brand vibe
- Download the result
What You'll Learn:
- Nano Banana is fastest when you're already in Gemini and iterating conversationally
- ImageFX is best when you need specific dimensions and want batch variations
- Whisk is perfect for remixing and maintaining style consistency
- GenType is your go-to when text needs to be the visual hero
By the end of this challenge, you'll know exactly which tool to reach for based on what you need.
Next Up: Part 3B - Motion & Sound Studio
We've covered static visuals—images, graphics, and typography. But what about movement and sound?
In Part 3B, we're diving into:
- Veo & VideoFX - AI-generated video from text prompts
- Google Vids - Turn documents into video presentations automatically
- MusicFX - Generate royalty-free background music and soundscapes
- Experimental video/audio tools in Google Labs
If you've ever struggled to find the right B-roll footage, needed background music that didn't sound generic, or wanted to turn a boring document into an engaging video... Part 3B is going to change your workflow.
Part 3B drops next week.
Additional Resources
- ImageFX on Google Labs
- Whisk on Google Labs
- GenType on Google Labs
- Gemini (includes Nano Banana 2): gemini.google.com
Next in the series: Part 3B - Motion & Sound Studio (Video, Audio, and Experimental Labs)
Kim Doyal
Kim Doyal is a digital marketing strategist and AI builder with 18 years of online business experience. She is the founder of AI Spark Studios and SPARK Lab, and the creator of The Hub — a custom 33-agent AI operating system that runs her entire business. She has also built kimdoyal.com, StackRewards, and multiple AI tools and agents using vibe coding, a natural language approach to building software without a traditional development background.
Keep Reading
Business Growth
AI Architecture Week: The Four Rooms Every AI Business Needs
I came into this week already tired. The kind of tired that's about the quantity of moving pieces, not any one thing. So instead of pushing through, I took an architecture week — five days of mapping my business instead of producing in it. Here's the four-pillar framework I landed on, and the audit prompts you can use to check your own.
April 24, 2026READ MORE
Vibe Coding
How I Built a Custom AI App in 3 Hours (A Vibe Coding Case Study)
If you've been following my journey into "vibe coding," you know I'm always on the lookout for tools that make bringing ideas to life faster and more intuitive. While I've had success with other platforms, a new tool recently caught my eye and has completely changed the game for me.
August 28, 2025READ MORE
AI Building
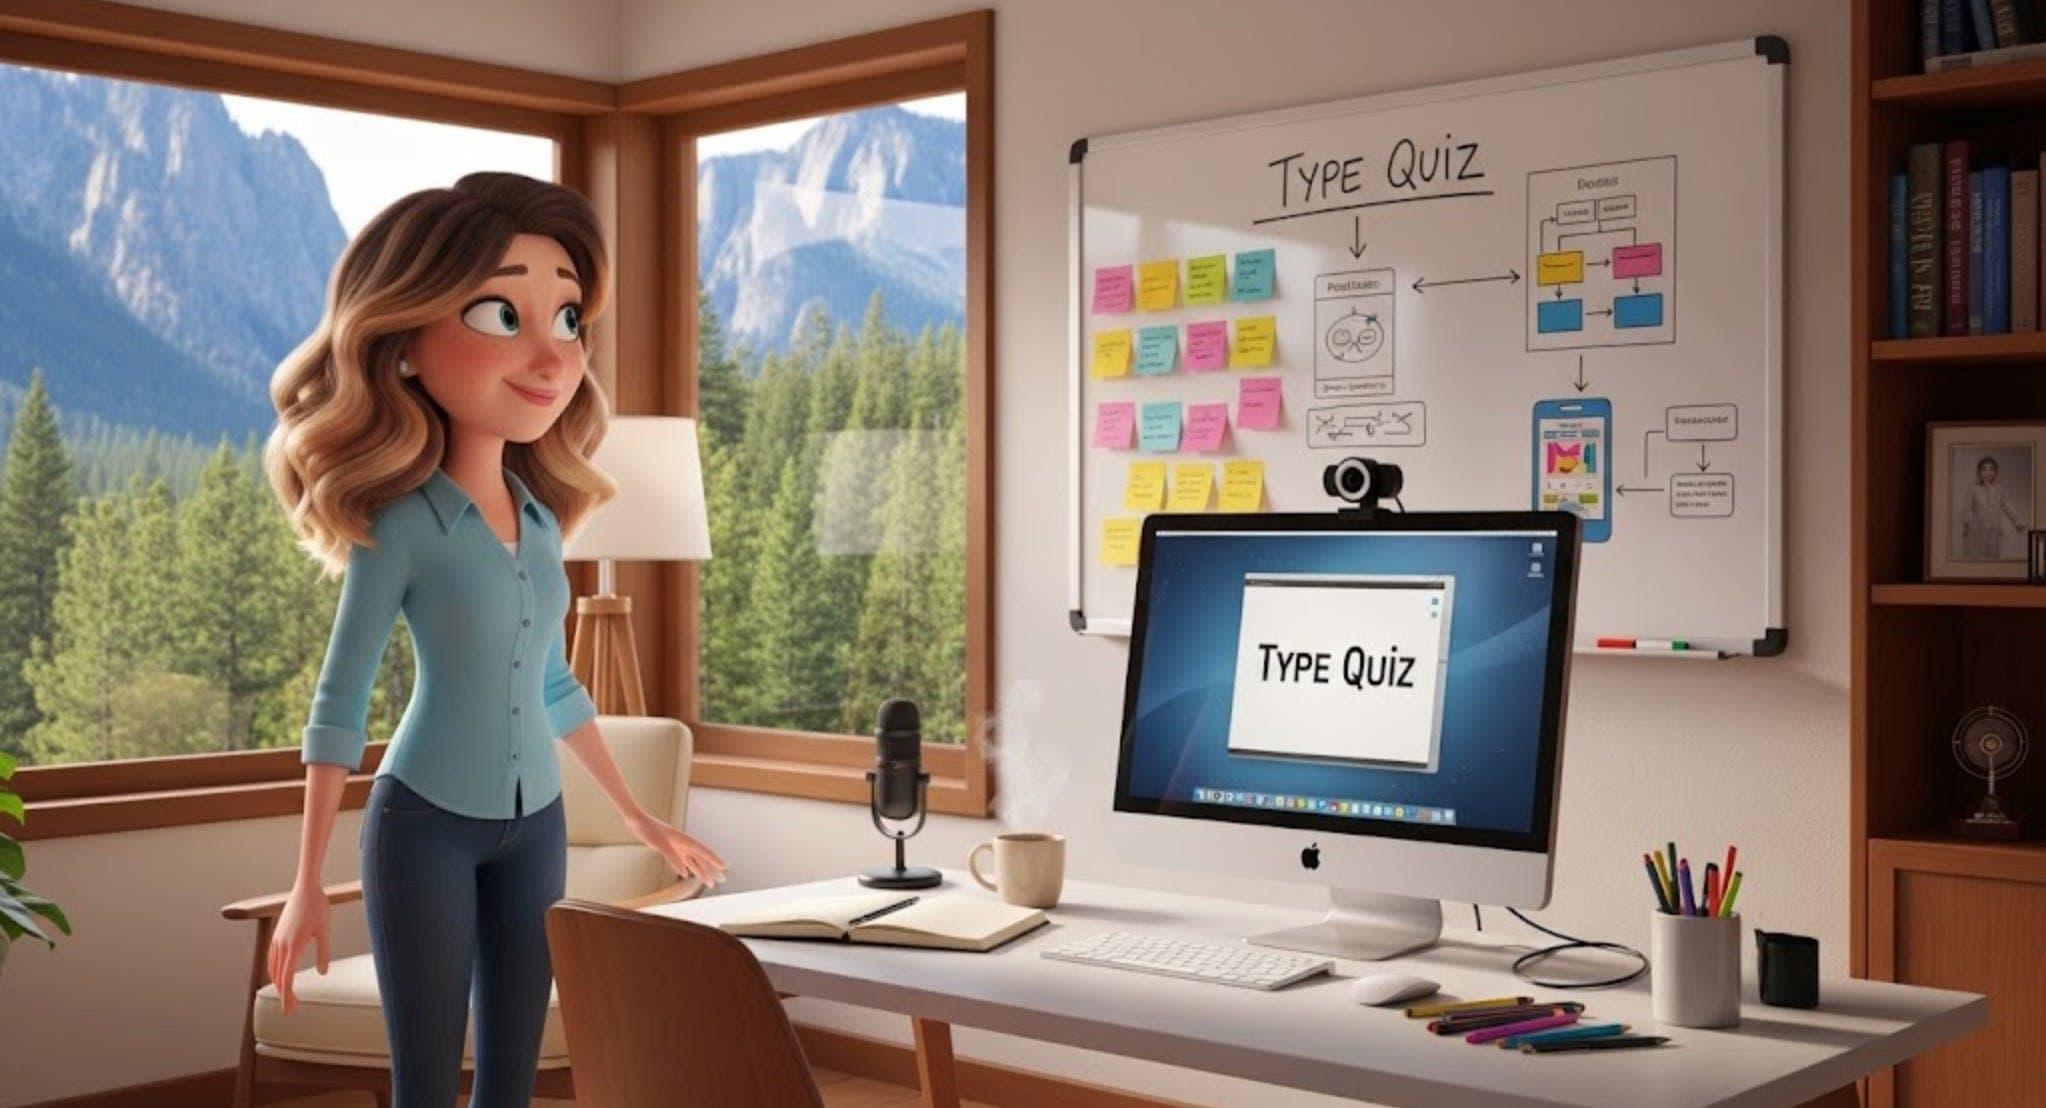
How I Built an AI-Powered Quiz Generator App With No Code (Case Study)
I've always believed that the best business ideas come from solving a problem you have personally experienced. That's exactly how my new app, TypeQuiz, was born.
August 5, 2025READ MORE